
Get Started with AutoBRIDGE
Install the plugin, create your free account, and start your 90-day free trial — then explore every feature workflow at your own pace.
Install AutoBRIDGE
Download the AutoBRIDGE installer from the official website. Choose the version that matches your installed copy of Revit before downloading.
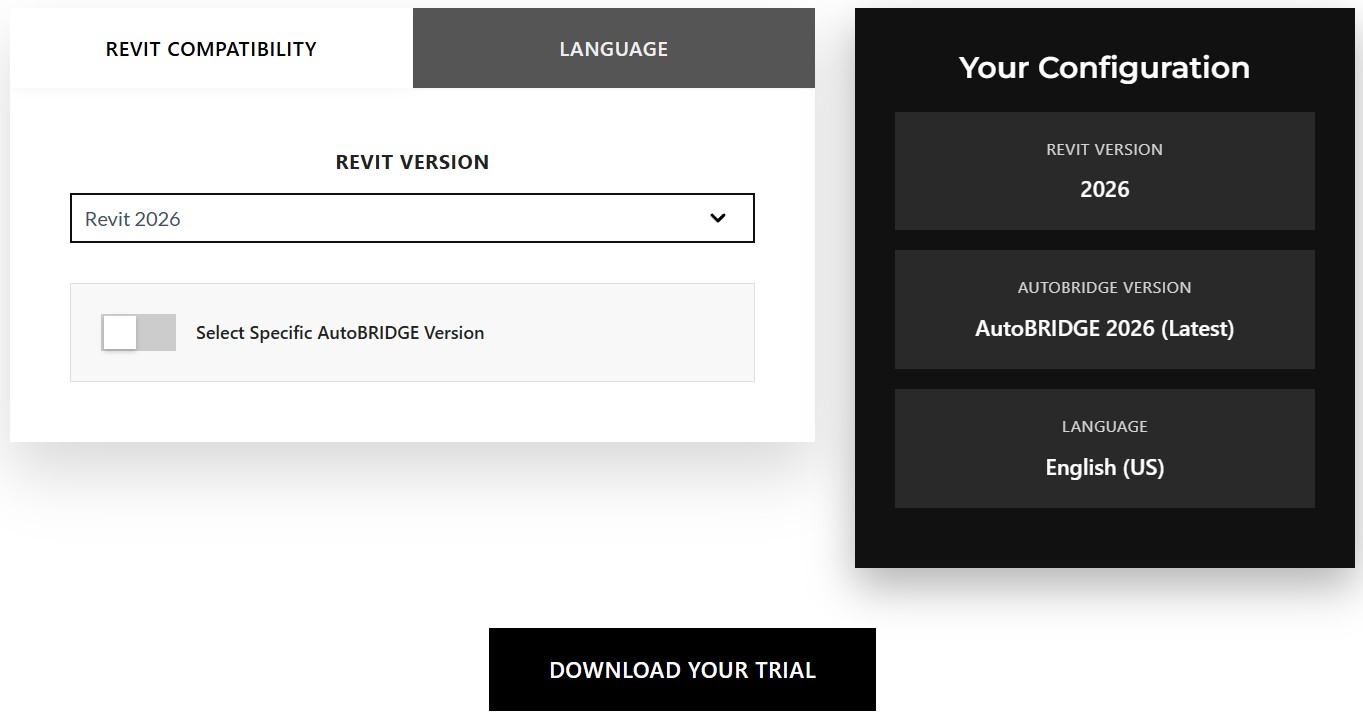
Download the Installer
Go to the AutoBRIDGE download page and select your Revit version to get the correct installer package.
⬇ auto-bridge.net — Download Free Trial
Run the Installer
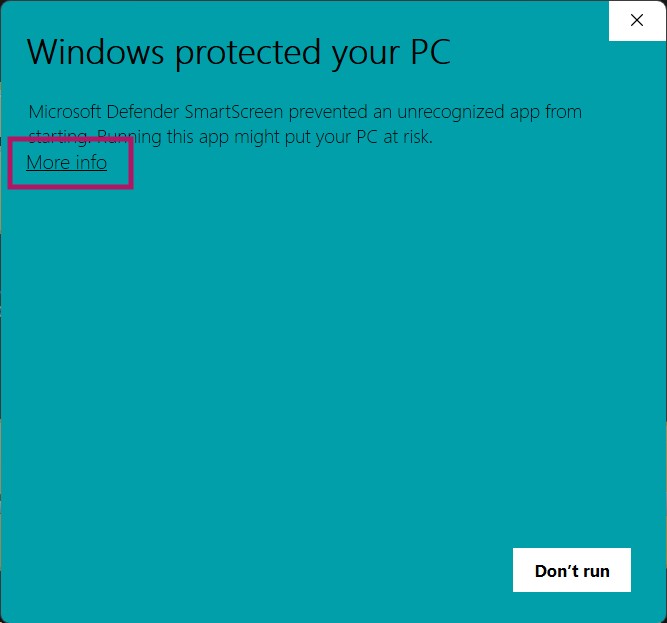
Windows SmartScreen may flag the installer as it is not yet in Microsoft's trusted publisher list. Follow the steps below to proceed safely.
Click "More info" on the Protection Screen
If Windows shows a blue protection warning, click More info to reveal the run option.
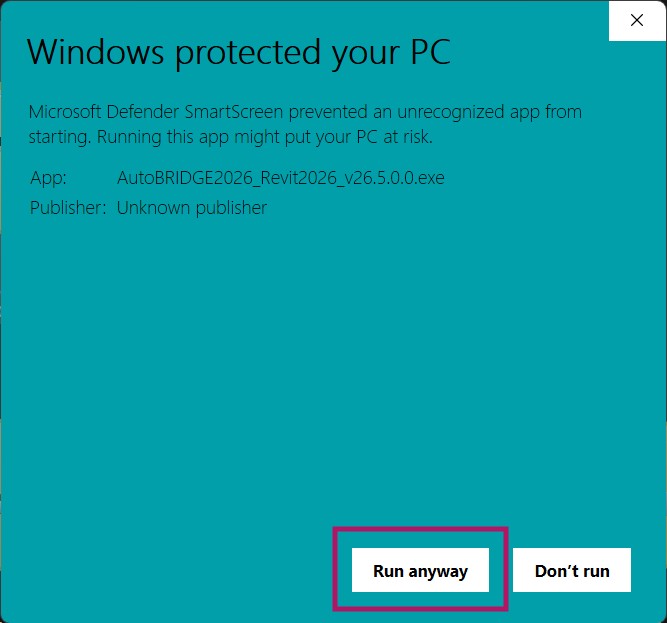
Click "Run anyway"
After clicking More info, a Run anyway button appears at the bottom. Click it to launch the installer.
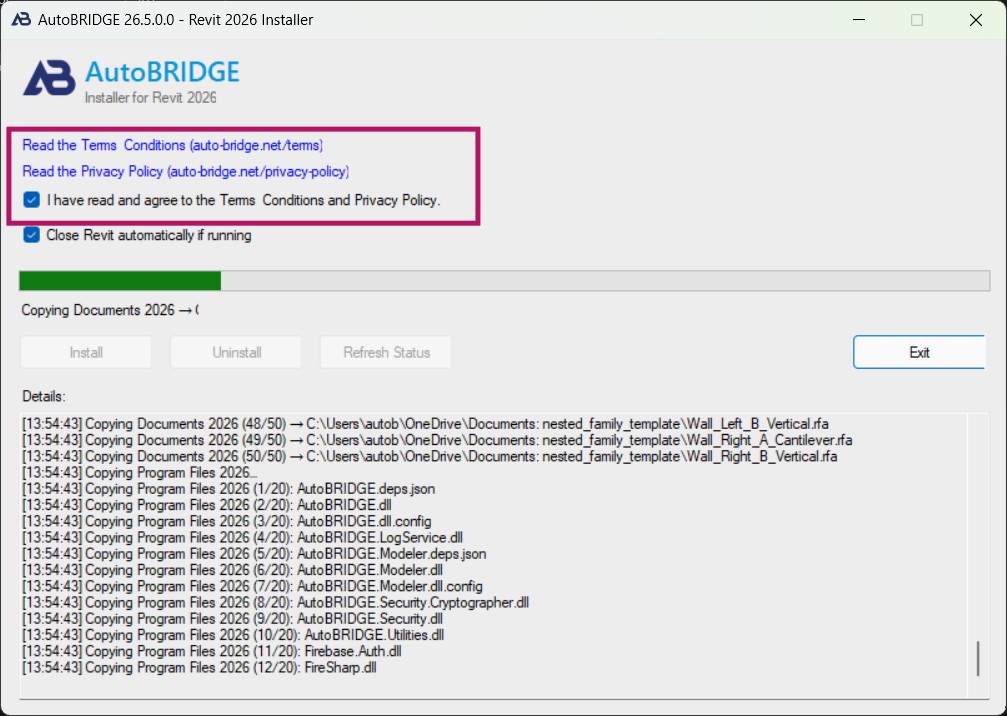
Accept the Terms & Conditions
Read the Terms and Conditions, check the agreement box, and continue with the installation to completion.
Create Your AutoBRIDGE Account
Once installation is complete, open Revit to register your account and activate the free trial directly from inside the plugin.
Open Revit — Find the AutoBRIDGE Tab
Launch Revit. A new AutoBRIDGE tab will appear in the ribbon at the top. Click on it to access the plugin.

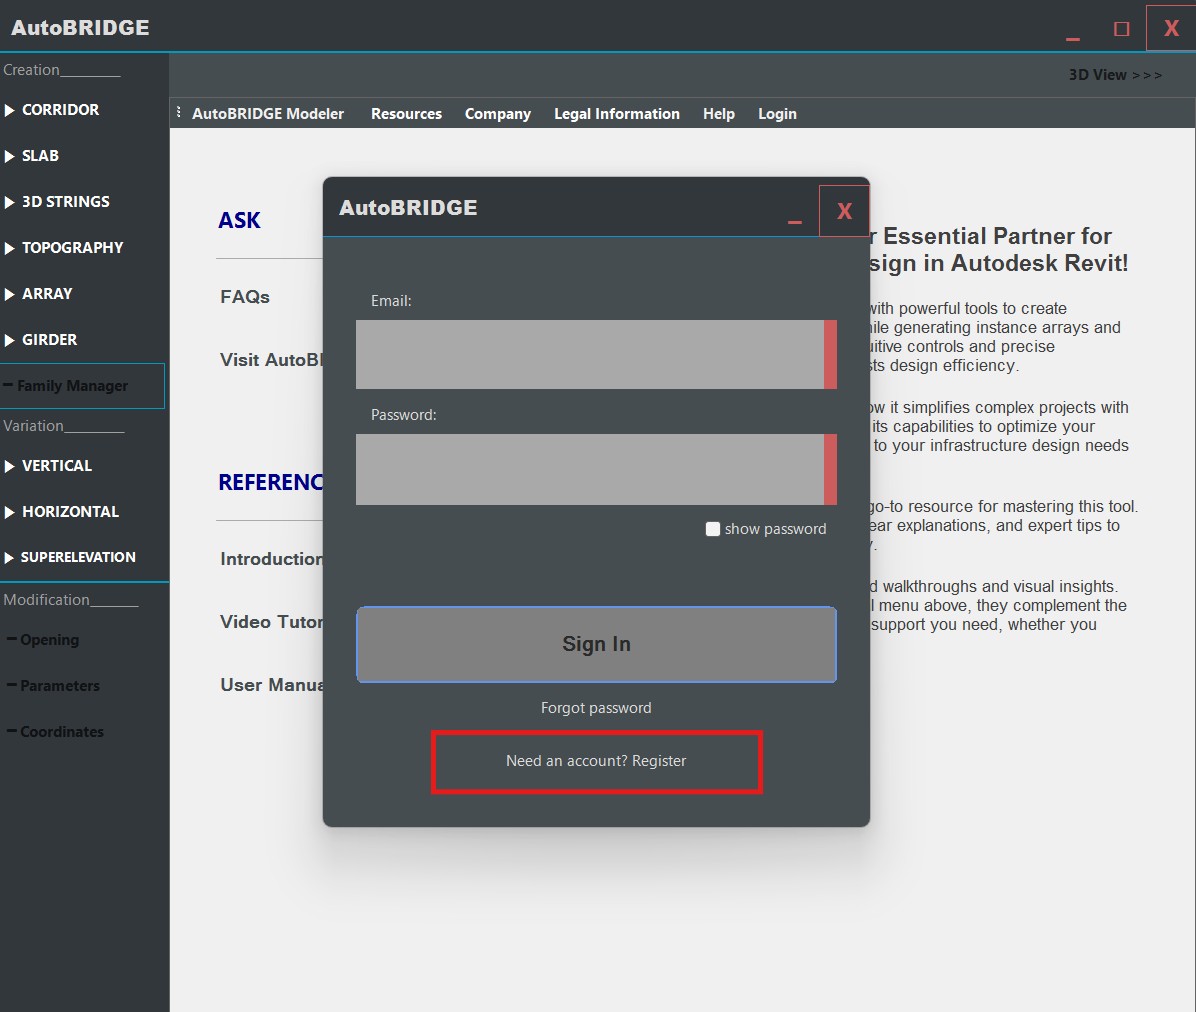
Click "Need an account? Register"
In the AutoBRIDGE login panel, click the registration link to create your account and begin the 90-day free trial.
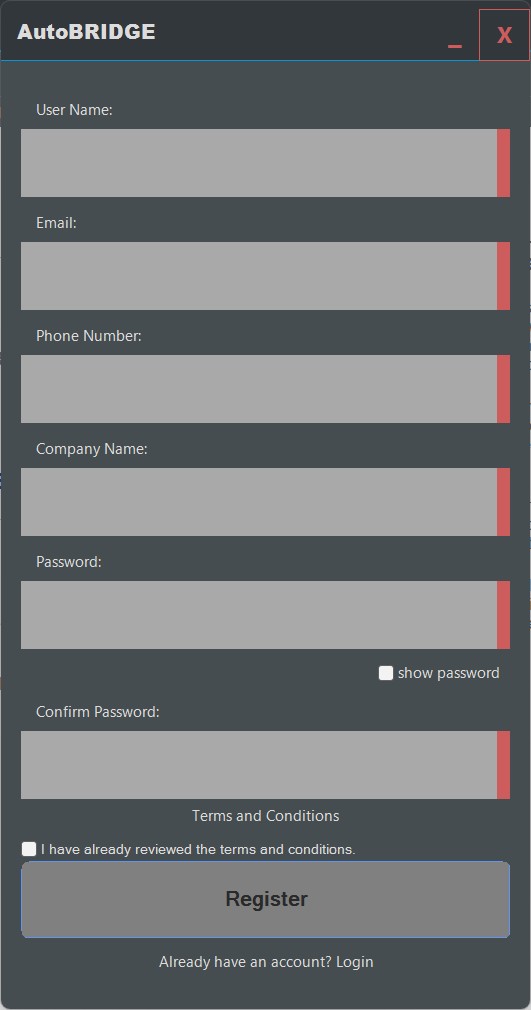
Fill in the Registration Form
Complete the registration form to activate your account. Your free trial starts immediately upon successful registration.
Start Exploring AutoBRIDGE
With the plugin installed and your account active, here is the recommended path to get up to speed quickly during your trial.
Read the User Manual
The full documentation covers every tool with step-by-step instructions, UI diagrams, and troubleshooting guides.
Watch the YouTube Tutorials
Video walkthroughs on the AutoBRIDGE channel show real-world workflows from start to finish — the fastest way to learn.
Follow a Workflow Guide
Each feature has a dedicated workflow page on the website. Pick the tool most relevant to your current project and follow along.
Try it on a Live Project
Open an existing Revit model or start a new one and apply AutoBRIDGE to a real bridge corridor, pier, or abutment layout.
Connect & Follow
Stay up to date with new features, tutorials, and release notes through the AutoBRIDGE channels.
Workflow Documentation
Every AutoBRIDGE feature has a dedicated workflow guide. Click any link below to open the full step-by-step documentation for that tool.
User Manual & Terms
The full User Manual covers every form, parameter, and setting in detail. The Terms & Conditions explain your licence, trial limits, and usage rights.